

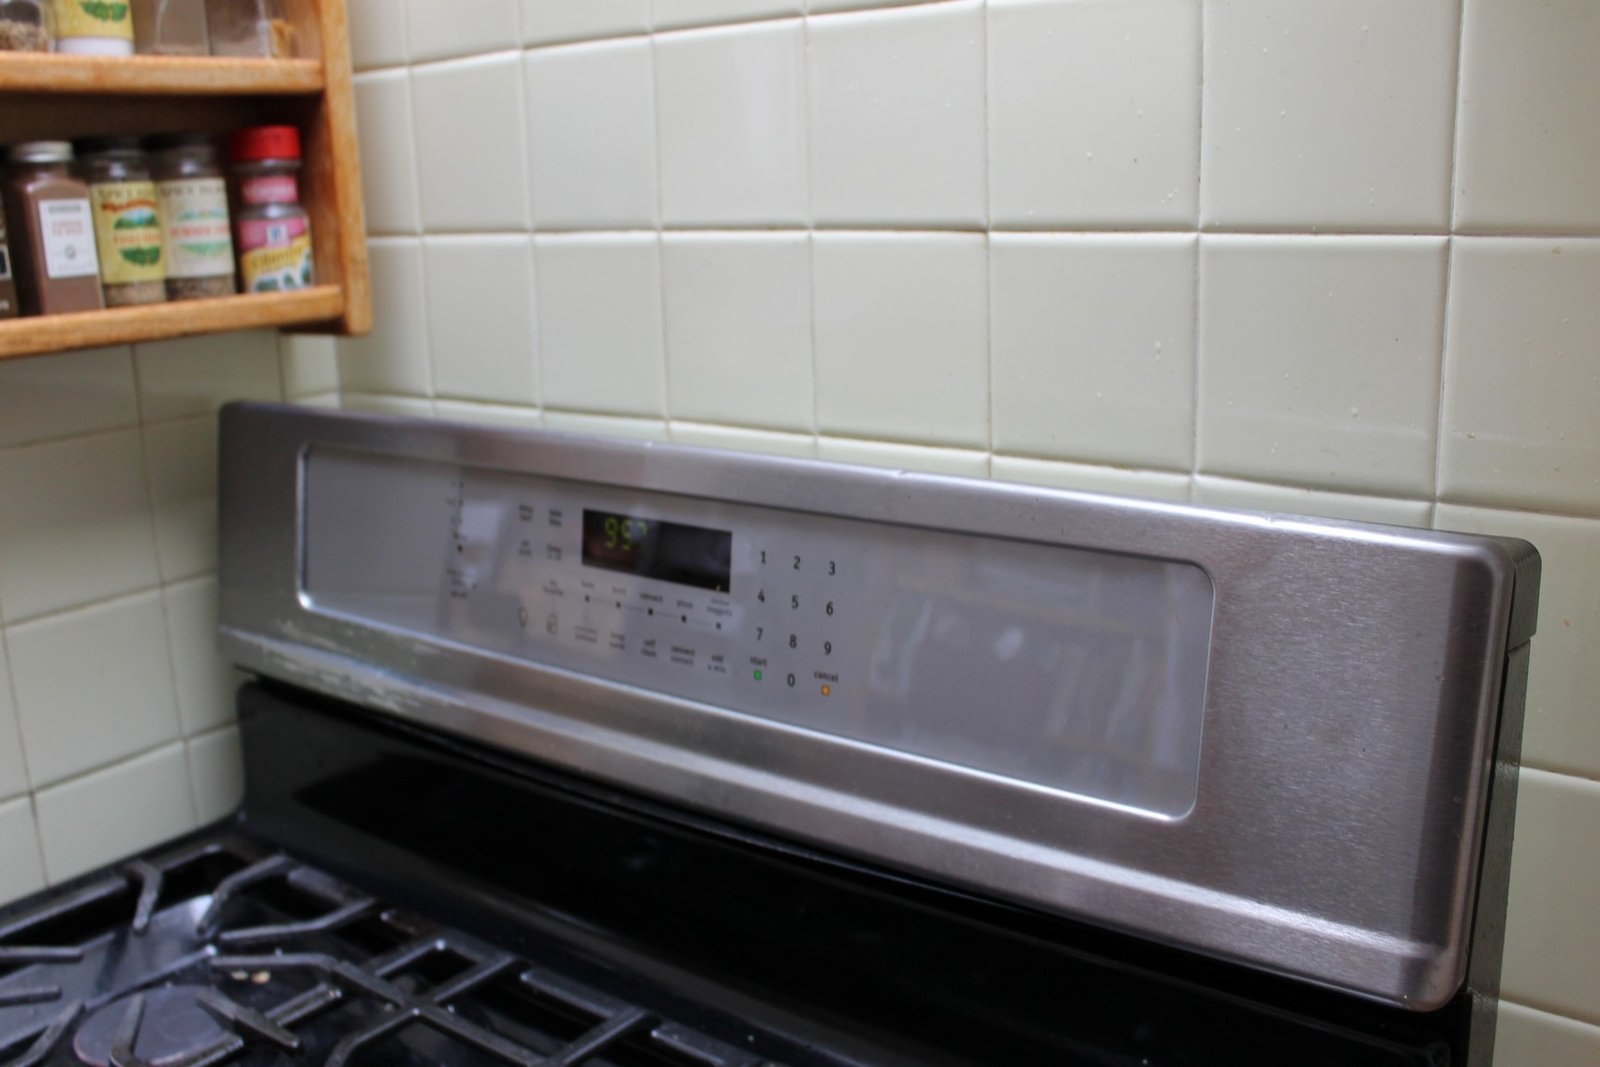
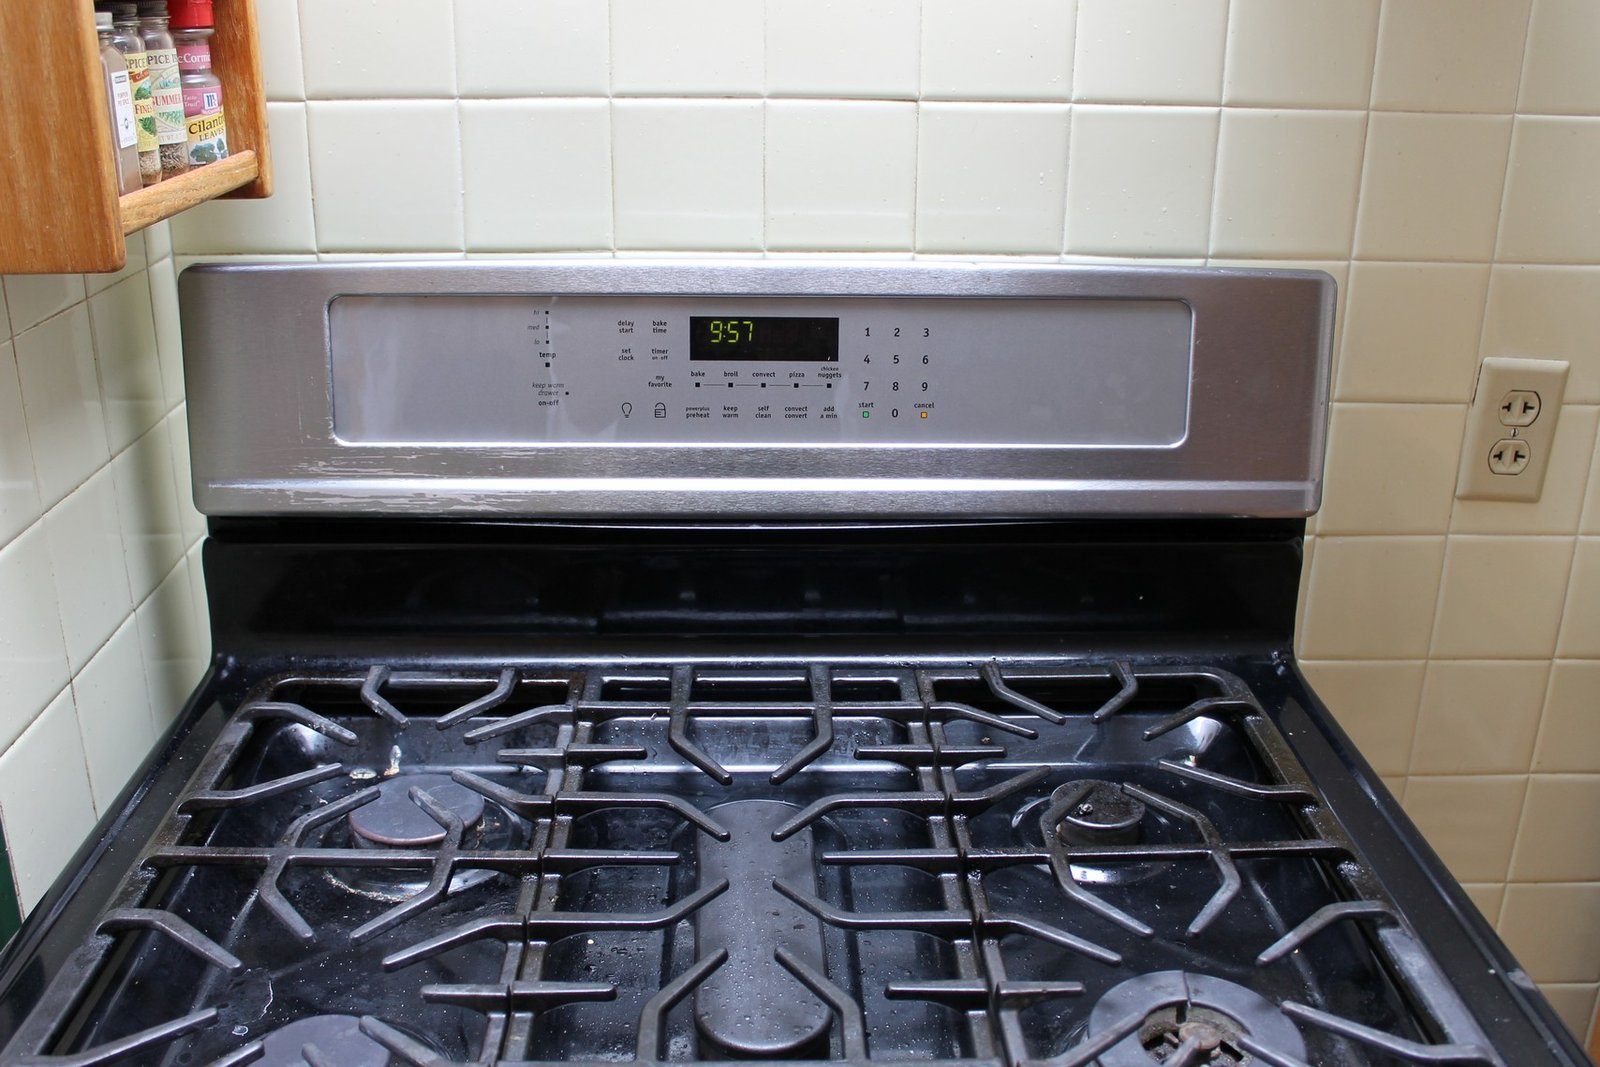
It happens. Someone in your house made a pot of beans, soup or maybe some pasta and the lid ended up steaming and melting the front or your incredibly poorly designed high-tech stove. They may even have rested a hot lid over the control panel, called the membrane or overlay . If your stove looks like the photo below there is hope.
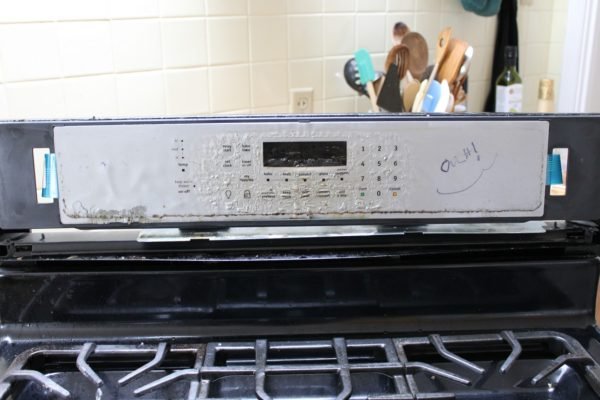
It is possible to replace the front control panel of the stove. It will cost around $150 for the part and about an hour of your focused attention mostly with a screw driver. Make sure that the clock still has a working light. If the clock is fried you may be totally out of luck.


STEP 1:
Find the part online. Get the exact model number of your stove and enter it into an internet search engine along with words like “control panel, stove front, overlay.” Mine was a Frigidaire. Do not buy a part unless you are absolutely sure you are getting the correct part.
STEP 2:
Wake up the next day after you get your part in the mail. Make a strong cup of coffee. Make sure you have plenty of light.

STEP 3:
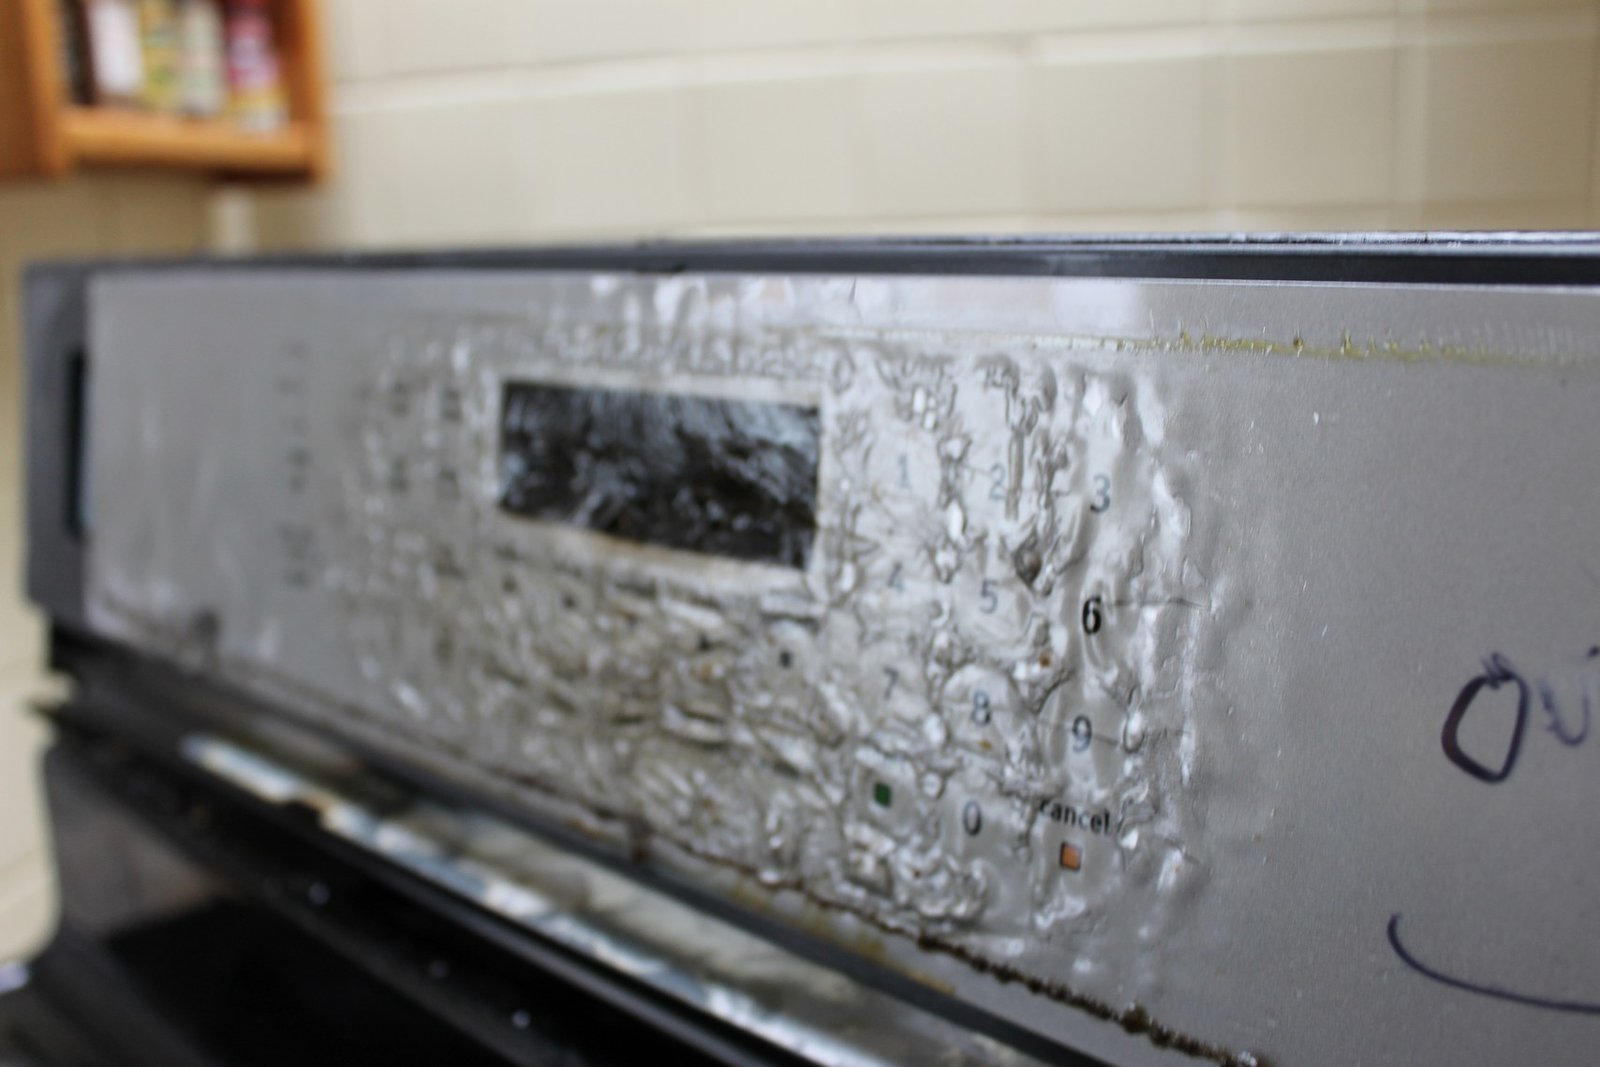
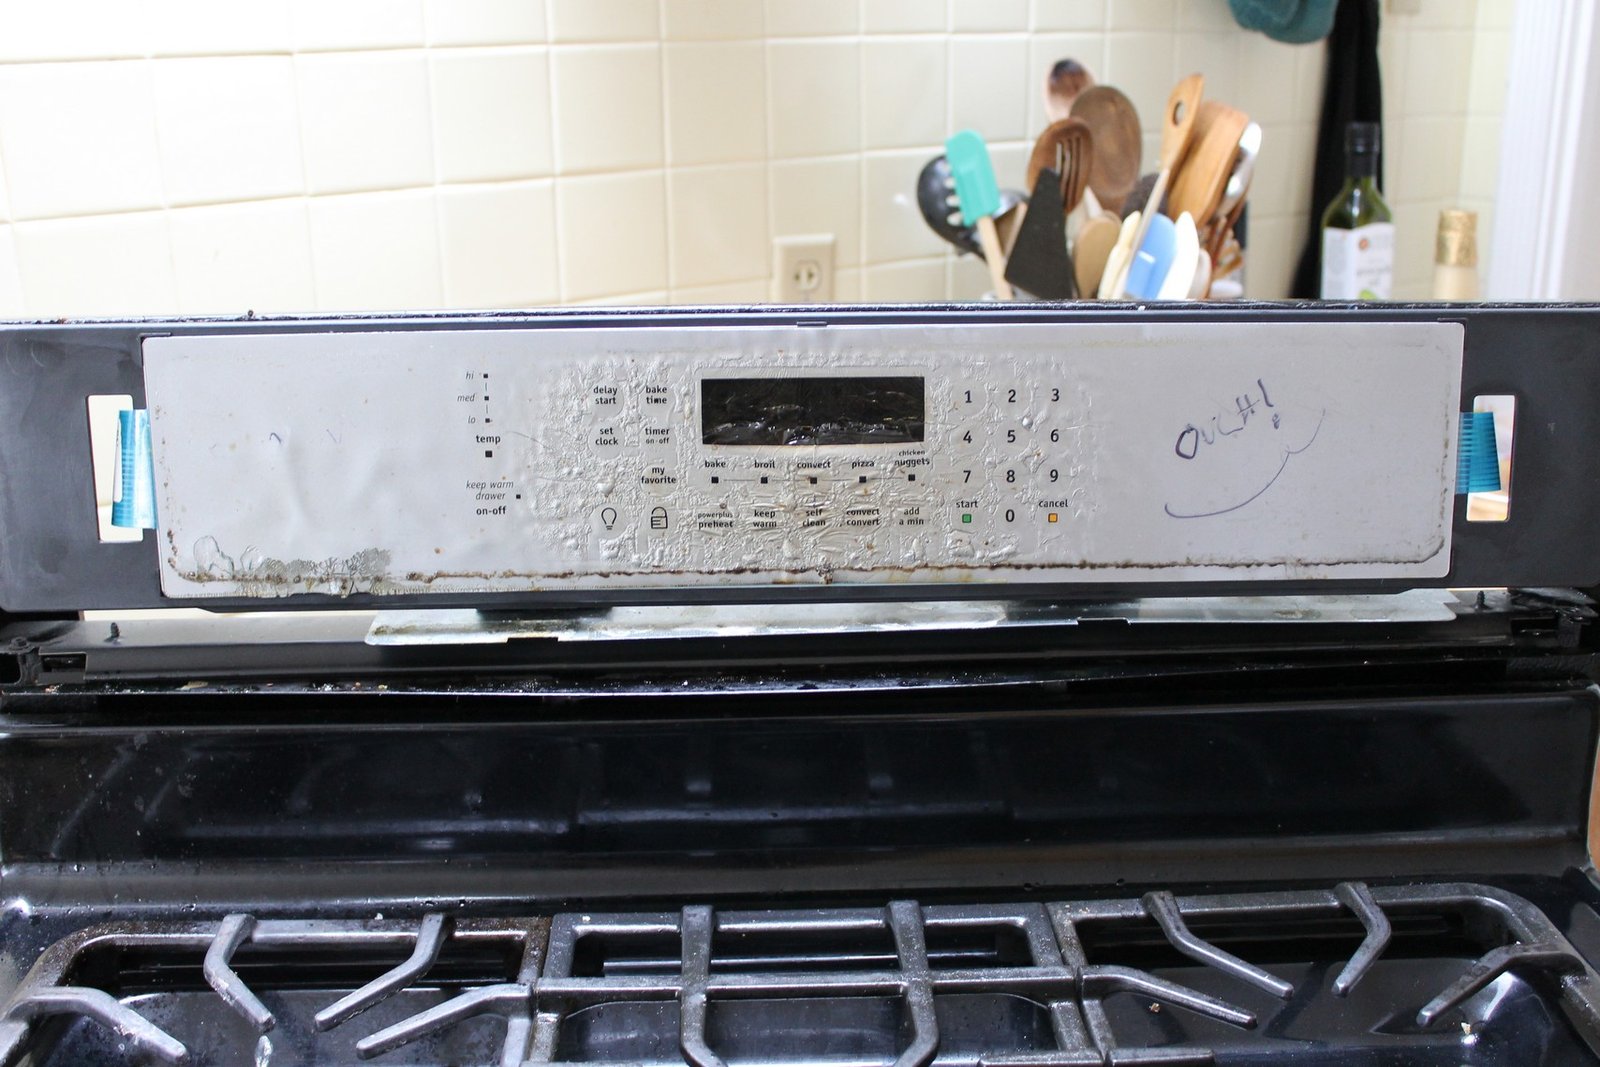
Assess your stove. Determine of there is light coming from the clock. Do not play around with the melted overlay. Unplug stove. Pull it out from the wall. Take some pictures of both sides for when you put it together you may get some valuable historical data.
STEP 4:
Find the screws that hold the front on which will be on the back. Start unscrewing putting all screws in a little cup..
STEP 5:
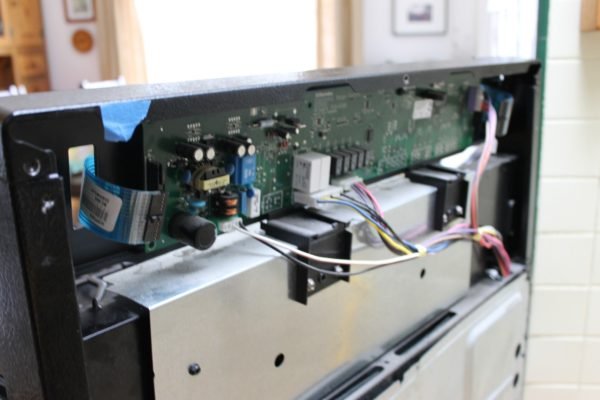
Pour another cup of coffee. When you get the back and metal top off, assess the damage. If the computer board from the back looks like it is melted I would figure out how to return the part you just bought and start shopping for a new stove.
STEP 6:
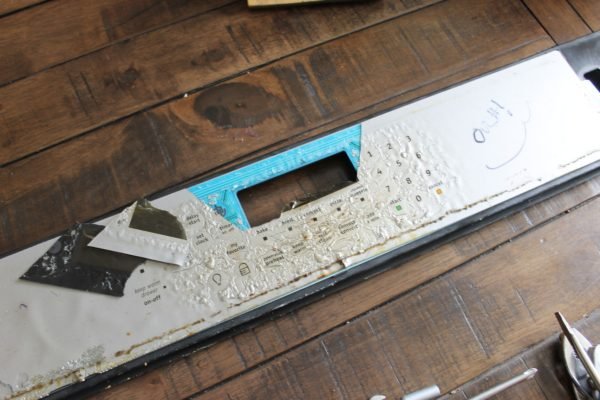
Pull the old control panel cover off. Probably some more screws. At one point mine was so melted I had to carefully cut it off with a razor blade as it was melted together.
STEP 7:
Put the new control panel on. Connect to the computer board. Mine looked like a large flat ribbon. (I used some blue painters tape to hold the overlay in place while I plugged it in.)
STEP 8:
Cross your fingers.
STEP 9:
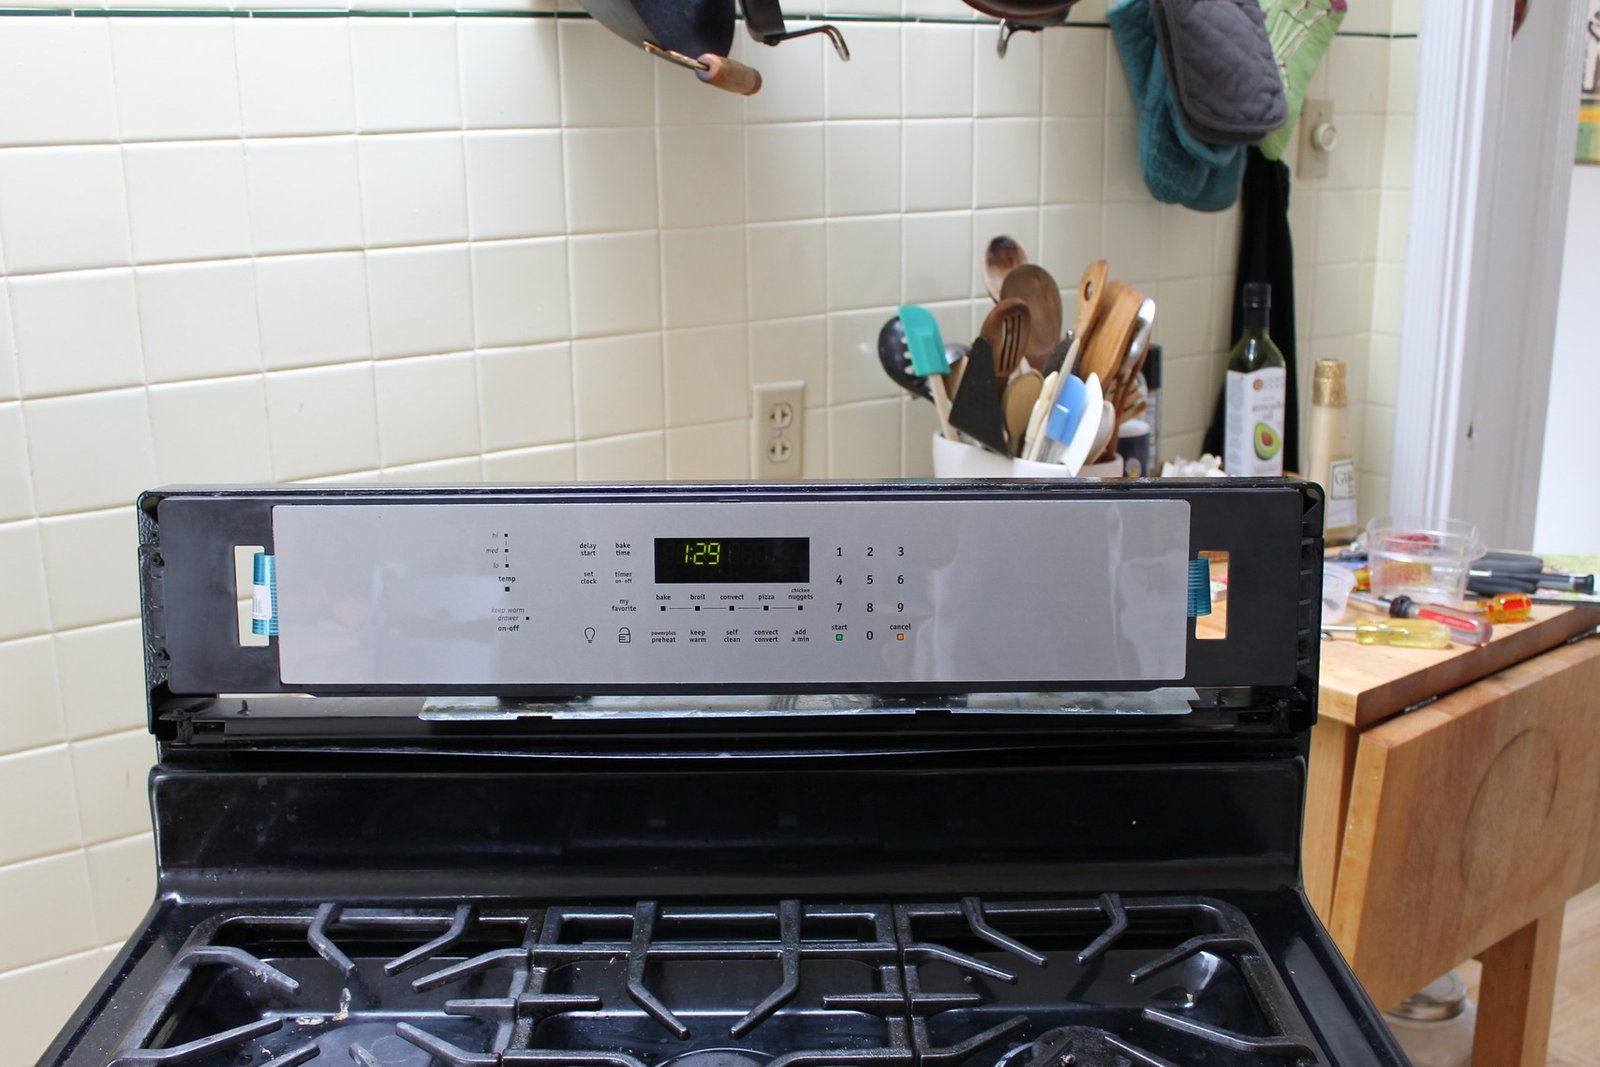
Plug in the stove. You should see the clock start up and show 12:00. Peal off the plastic protective stuff on top of your new overlay.
STEP 10:
Connect all the screws in all the places that you just took out twenty minutes ago to the top and back covers.
You just saved yourself at least $300 by not having to buy a new stove.
Disclaimer: I do not guarantee that you will be able to replace this part successfully. I was able to swap out the part and the stove has been running fine for about a year. I was actually surprised it all worked out.

PROLOGUE
Our appliances, like all technology, are based on the generation and times that they are made. The stoves built in the 1960s were built of metal, chrome and glass. They often had mechanical clocks and timers which after 20 years would sometimes fail. The front of the stoves were often made of heat resistant glass. Over time these stoves did wear out but many are still in operation today and look great. Kenmore stoves from this era were like tanks and designed very well.
Contrast that with what $600 will get you in a stove today. The contast in workmanship and materials is almost shocking. Today they are designed poorly and of cheap materials made to wear out and fail. Appliances were made better in the 1950s and 1960s. Why today engineers and designers have not realized that having plastic control panels near heat surfaces is not a good idea, I will never know.
STEP 11:
Make a huge dinner and invite your friends over for a feast.